An IVR, or Auto Attendant, answers calls with a recorded message and offers callers options to route their calls. The IVR can be setup in the Admin Portal. It is advised to decide what button your would like to route where and have those groups, extensions and recording made prior to attempting to create the IVR itself.
Sound recordings are used for greetings and prompts in IVR’s. They can either be recorded directly from a phone or by uploading a WAV/MP3 file through the portal. The can also be created using Text-to-Speech technology
By Phone:
Dial *732 from a registered extension.
Enter your PIN.
Choose a recording slot from 1 to 99.
Record your message. Press 2 to save.
A recording can be updated by simply recording over the same slot number.
Upload in the Portal:
Login to the Admin Portal using a web browser.
Select Applications and then click Recordings from the top menu.

Click ADD. A window will pop up where you can select the file from your computer. The file must be a (16b 8khz/16khz mono) WAV file or MP3 file.
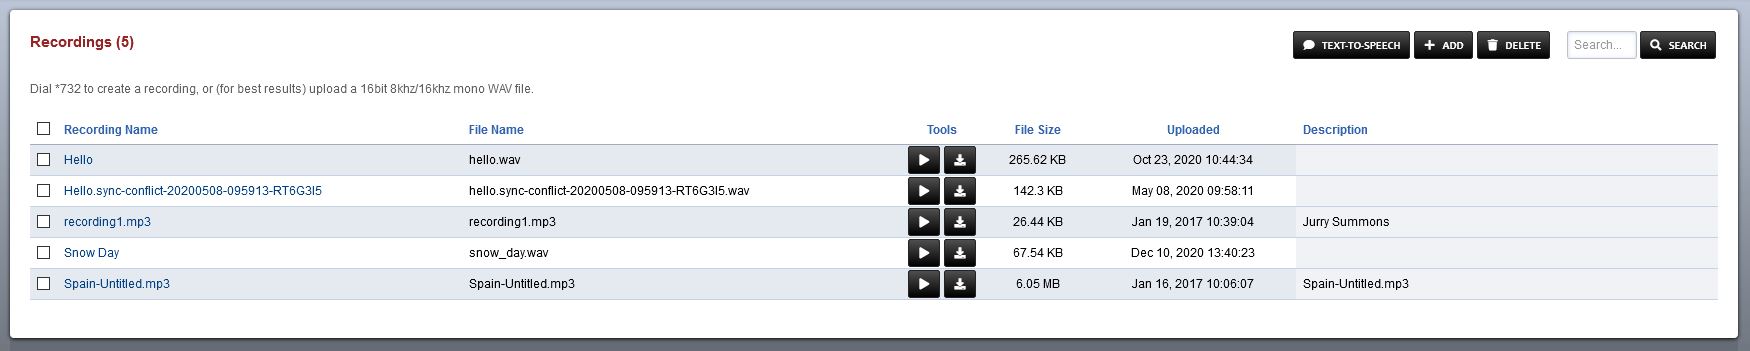
Click Upload.

You can now edit the Recording Name, File Name or Description.

Text-to-Speech in the Portal:
Select Applications and then click Recordings from the top menu.
Click the Text-to-Speech button.
Click Add

Type your recording name, recording message and description. Next choose a voice.
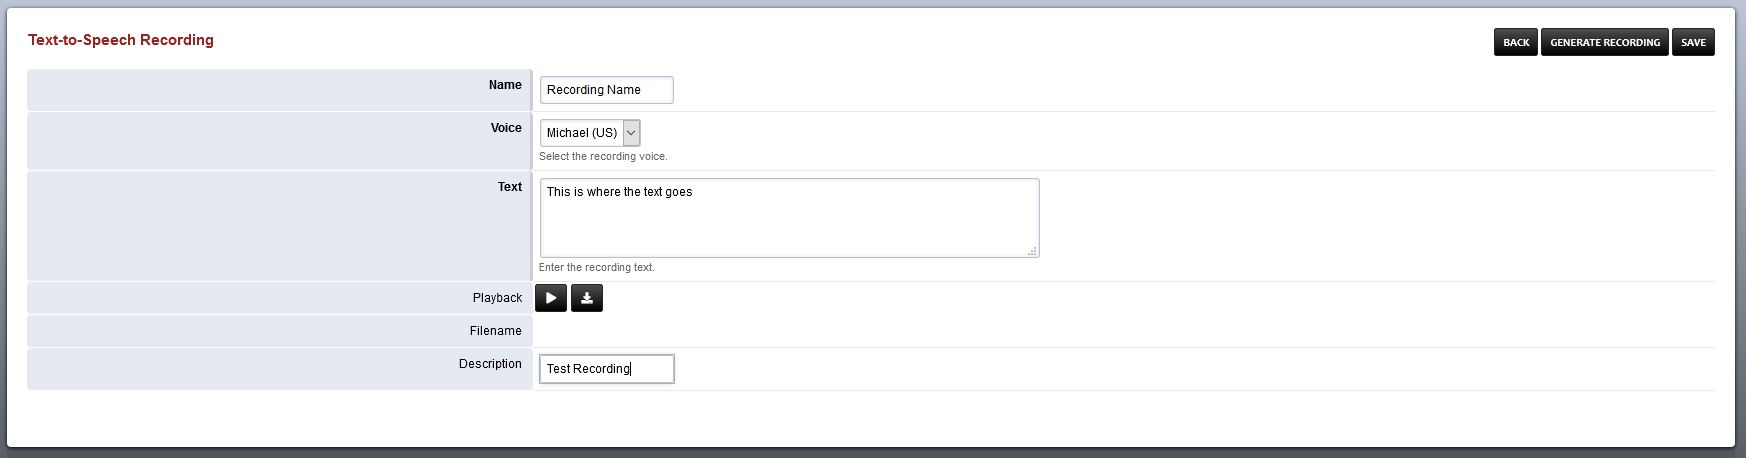
Click Save.
Then click Generate Recording.